
I own this marvelous sun hat that I bought at The Gap about 20 years ago. It’s a little big for my head, but it’s comfortable. More importantly, it has this amazing wide brim to keep the sun off my face, neck, and chest when I’m working in the mid-day heat. I’ve wanted to get similar hats for my kids, but I simply cannot find a reasonably priced hat that 1) fits their heads comfortably, 2) has a wide brim all the way around, 3) has a tie to keep the hat from blowing away, and 4) comes in a color or pattern that my kids will wear willingly. (That last one is extra tough when it comes to my teenage son!)

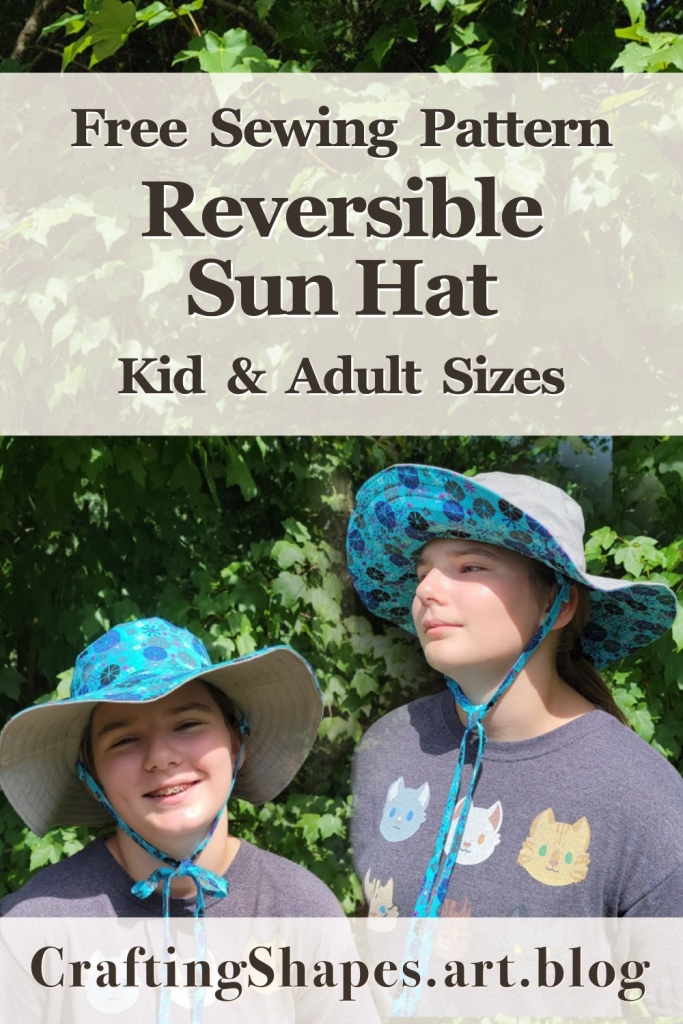
So I finally gave up and decided to make a hat pattern using my old hat as inspiration. The old hat was built from two half-circle arcs to create the brim. I opted to break the sides and brim into thirds, which makes it easier to use fabric with a directional pattern. The old hat didn’t have ties, either, so I added loops. This way, a tie can be added or removed, depending on how windy the day gets. Having loops instead of sewing the ties directly to the hat also makes it possible for the hat to be reversible.
Finally, I faced my biggest challenge: how could I give the hat a nice wide brim for sun protection, without the brim flopping down and covering the eyes? This was my biggest beef with my old Gap hat, actually. The solution came to me while I was organizing my kids’ craft bin. Felt! When I added a layer of inexpensive craft felt to the hat’s brim and then top stitched the brim in a faux-quilted method, the hat ended up with a Goldilocks “just right” balance of stiffness and floppiness.
And voila, the new sun hats are perfect! They came out so well, in fact, that other moms at the playground have been stopping me to ask where I bought them. I feel like one of the best compliments a seamstress can get is when people can’t tell your work is home made.
Prep Your Sun Hat Project: Tools & Materials Needed
- Difficulty level: Intermediate
- Total Cutting & Sewing Time: About 3.5 hours
You don’t need a lot of extra sewing notions for this project. Along with your sewing machine, pins, and tape measure, you’ll need the following materials…
- Patterned side: 1/2 yard lightweight fabric. I use cotton quilting fabric. Two fat quarters of fabric can work just as well as a complete 1/2 yard piece.
- Solid side: 1/2 yard medium-weight fabric. I use a polyester-cotton-blend twill fabric (the type that khaki pants are often made from).
- Sewing thread in two colors, one to match each fabric. (As an alternative, you can use one color thread that matches one fabric and works as a contrast against the second fabric.)
- Crafting felt – I use plain white felt. Three pieces of standard 9″x12″ craft felt will be plenty if you are making a hat sized 23″ or smaller. If you are making a hat for sizes 24″ or 25″, though, you will need to buy larger felt that can produce 3 pieces that are 9″ x 14″. (I buy my bulk felt as a single 1-yard piece from Michaels for about $4.)
- Optional: Two sew-on snaps. This is to make the ties removable. If you don’t want to deal with snaps, you can also simply make a knot to attach the ties to the hat. I don’t recommend buttons or hooks, because hair can get caught in them.
The materials listed above will be enough for all the different hat sizes available in this post. Of course, if you are making one of the smaller hat sizes, you’ll end up with some leftover fabric – maybe even enough to whip up a small drawstring bag to match the hat. (But that is a pattern for another day…)
Measure Your Head & Print Your Pattern

To start, measure the head circumference of the person getting the new hat. Wrap a tape measure around the head, going just above the eyebrows and ears and going around the back at the widest point of the base of the head.
Don’t pull the tape measure too tight while measuring, but don’t worry about leaving any extra slack, either. The patterns include 1″ ease already. (In other words, the hat for an 18″ head is actually 19″ around its base.)
Once you know the circumference measurement of the head getting a new hat, go ahead and print the correct pattern size from the options below.
- 17.25″ to 18″ Head Circumference Pattern – PDF Download
- 18.25″ to 19″ Head Circumference Pattern – PDF Download
- 19.25″ to 20″ Head Circumference Pattern – PDF Download
- 20.25″ to 21″ Head Circumference Pattern – PDF Download
- 21.25″ to 22″ Head Circumference Pattern – PDF Download
- 22.25″ to 23″ Head Circumference Pattern – PDF Download
- 23.25″ to 24″ Head Circumference Pattern – PDF Download
- 24.25″ to 25″ Head Circumference Pattern – PDF Download
Pre-Shrink Your Fabric & Cut Your Pieces
I really cannot emphasize this enough: Run your fabric and felt through the washing machine and dry it on high temperature to shrink the fabric down as much as possible before you cut the pieces. There is nothing worse than putting a lot of energy into sewing something, only to have it shrink in the wash and not fit anymore.
Once you have pre-shrunk your fabric, go ahead and cut out the pieces as directed in the pattern. In addition to cutting the pattern pieces that you print, you also need to cut enough diagonal 2-inch-wide strips to make about 2 yards of 1/2-inch double-fold bias tape. (There’s a great video on how to cut and sew your own bias tape here.) You only need to cut your bias tape strips from the lightweight patterned fabric. Do not cut bias tape strips from your liner fabric.

Here is one possible layout for cutting your fabric from a half-yard of 45″ fabric. (Keep in mind, this layout shows the largest hat size of 25″. For smaller hats, you’ll end up with more leftover fabric and may even want to arrange the pieces differently as you cut.)

If you buy your fabric as two fat-quarter squares, this cutting layout will work better for you. Note that the top and bottom edges are 22″, and the side edges are the shorter 18″ edges of the fat quarter.

Last but not least, cut your felt. As I mentioned above, you should have no trouble cutting from a standard 9″ x 12″ piece of felt if you are making hat sizes 18″ through 23″. If you are making size 24″ or 25″, though, your felt pieces will need to be bigger.
Phew! Are you finished with that prep work? Then head on to part two of this post, where I explain how to sew all the pieces together!

What a wonderful hat! Can’t wait to make it. Perfect!
LikeLike